How to install Torch7 on AWS
This post assumes Ubuntu 14.04 on a g2.2xlarge EC2 GPU instance.
First, set up AWS and launch an instance. I leave this exercise to the reader. If you’re new to AWS, know that it requires more upfront work than providers like Digital Ocean and Heroku. You can do it!
I recommend you increase your instance’s storage from the default 8GB to around 24GB or so, depending on your plans for the instance. I did some image processing and quickly ran out of room on an 8GB instance
Now, on to the tutorial, assuming a freshly launched instance.
Install NVIDIA drivers
Update your software and install some necessaries.
sudo apt-get update && sudo apt-get upgrade
sudo apt-get install -y build-essential linux-image-extra-virtual
When prompted, choose the package maintainer’s version of the GRUB configuration file.
Then, reboot
sudo reboot
Disable nouveau
According to their webpage, “the nouveau project aims to build high-quality, free/libre software drivers for nVidia cards.”
Nouveau interferes with the official NVIDIA drivers, so we have to blacklist it.
Open a blacklist file
sudo vi /etc/modprobe.d/blacklist-nouveau.conf
And add these lines
blacklist nouveau
blacklist lbm-nouveau
options nouveau modeset=0
alias nouveau off
alias lbm-nouveau off
Then, put the changes into effect
echo options nouveau modeset=0 | sudo tee -a /etc/modprobe.d/nouveau-kms.conf
sudo update-initramfs -u
sudo reboot
Install linux source and headers for the NVIDIA driver to compile against
sudo apt-get install -y linux-source
sudo apt-get install -y linux-headers-$(uname -r)
Download the NVIDIA drivers and install them
wget http://us.download.nvidia.com/XFree86/Linux-x86_64/340.93/NVIDIA-Linux-x86_64-340.93.run
sudo bash NVIDIA-Linux-x86_64-340.93.run
modprobe nvidia
Check for success
nvidia-smi -q | head
Install CUDA
wget http://developer.download.nvidia.com/compute/cuda/repos/ubuntu1404/x86_64/cuda-repo-ubuntu1404_7.0-28_amd64.deb
sudo dpkg -i cuda-repo-ubuntu1404_7.0-28_amd64.deb
sudo apt-get update
sudo apt-get install -y cuda
echo -e "\nexport PATH=/usr/local/cuda/bin:$PATH\n\nexport LD_LIBRARY_PATH=/usr/local/cuda/lib64" >> .bashrc
sudo reboot
Check for success
cd /usr/local/cuda-7.0/samples/1_Utilities/deviceQuery
sudo make
./deviceQuery
Sources:
- AWS Docs
- CUDA 6.5 on AWS GPU Instance Running Ubuntu 14.04
- How to install Theano on Amazon EC2 GPU instances for deep learning
Install Torch 7
curl -s https://raw.githubusercontent.com/torch/ezinstall/master/install-all > install-torch
sudo bash install-torch
source ~/.bashrc
I hope this saves you some frustration and Google trawling.
And now, have some fun. Try char-rnn or neuralart.
One note on neuralart:
The neuralart repo’s README says to use qlua, and defaults to a display_interval of 20.
This means that the program will open a QT window that will display every 20th
frame from the optimization process. The default number of optimization steps
is 500. So, instead of qlua I used the Torch7 CLI th with a display_interval of 0:
th main.lua --style <style>.jpg --content <content>.jpg --display_interval 0
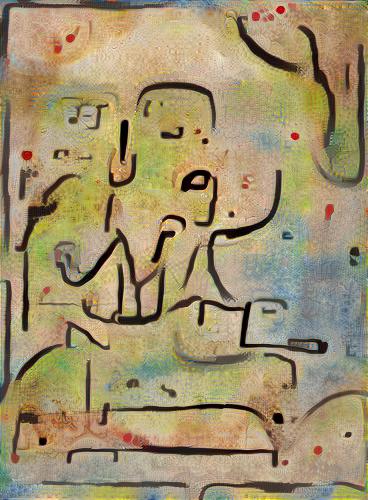
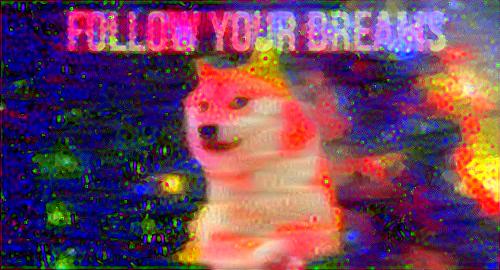
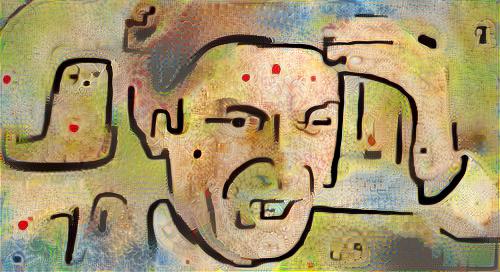
These are the results of my toying around:
An inspirational doge meme, in the style of Fire in the Evening by Paul Klee
Jeff Goldblum from The Fly, in the style of Insula Dulcamara by Paul Klee
Twittering Machine by Paul Klee in the style of Insula Dulcamara by Paul Klee